If you’re dealing with mold on your painted ceiling, don’t fret! This step-by-step guide is here to help you effectively remove the mold and create a fresh and clean living space. From identifying the mold to selecting the right cleaning materials, this article covers everything you need to know to tackle this common household issue. Say goodbye to unsightly mold and hello to a revitalized and mold-free ceiling with these simple and easy-to-follow steps.

Assessing the Mold Situation
Identify the presence of mold
Before you begin removing mold from your painted ceiling, it’s important to first identify if there is indeed mold present. Look out for signs such as visible patches of black, green, or dark discoloration on the ceiling surface. You may also notice a musty odor or experience allergy-like symptoms such as sneezing or coughing when you’re in the room. If you suspect mold but are unsure, it is recommended to consult a professional mold inspector to conduct a thorough assessment.
Determine the extent of the mold growth
Once you have confirmed the presence of mold, it is crucial to assess how extensive the mold growth is on the painted ceiling. This will help you determine the appropriate course of action and the level of intensity required for the remediation process. Check if the mold is limited to a small area or if it has spread across a larger portion of the ceiling. Take note of any hidden areas behind furniture or in corners that may also be affected. Understanding the extent of the mold growth will guide you in preparing the necessary materials and allocating the right amount of time for the task.
Take necessary safety precautions
Before proceeding with mold removal, it is essential to prioritize your safety and the well-being of everyone in the space. Mold can release spores into the air, which can be harmful if inhaled or come into direct contact with skin. To protect yourself, it is important to wear appropriate protective gear, including disposable coveralls, gloves, and a respirator mask. Safety goggles should also be worn to prevent any eye irritation from cleaning solutions or mold particles. By taking these necessary precautions, you ensure a safe and healthy environment throughout the mold removal process.
Gathering the Required Materials
Protective gear
When it comes to mold removal, equipping yourself with proper protective gear is essential. To effectively protect yourself, invest in disposable coveralls that cover your entire body. These coveralls should be worn over your regular clothing and should be discarded after each use. Additionally, a high-quality respirator mask, such as an N95 or higher, should be worn to prevent the inhalation of mold spores. Latex or nitrile gloves provide an added layer of protection for your hands. Remember, safety should always be your top priority.
Cleaning solutions
To effectively remove mold from your painted ceiling, you will need suitable cleaning solutions. There are various options available, ranging from commercially available mold cleaners to DIY solutions. One common and effective solution is a mixture of water and detergent or dish soap. Alternatively, you can use a solution of vinegar and water or hydrogen peroxide. These natural solutions have antimicrobial properties and can help kill mold. Make sure to choose a cleaning solution that is safe for your specific type of painted ceiling.
Tools and equipment
To efficiently remove mold from your painted ceiling, you will need a few essential tools and equipment. A sturdy ladder will enable you to safely reach the affected areas on the ceiling. A soft brush or sponge can be used to gently scrub away the mold. If the mold growth is stubborn and requires more aggressive removal, a stiff brush may be necessary. Additionally, having a spray bottle filled with your chosen cleaning solution will make the application process easier and more controlled. Gather these tools and equipment beforehand to ensure a smooth and efficient mold removal process.
Preparing the Work Area
Clearing the space
Before you begin removing mold from your painted ceiling, it’s important to clear the surrounding area. Remove any furniture, decorations, or other items that could obstruct your access to the ceiling. This will make it easier for you to move around, position your ladder, and ensure that there are no obstacles that may hinder the mold removal process.
Preparing drop cloths or plastic sheets
To protect the flooring and any remaining furniture or fixtures in the room, it is advisable to cover them with drop cloths or plastic sheets. This will help prevent any potential damage or contamination caused by falling mold debris or cleaning solutions. Ensure that the drop cloths or plastic sheets are securely taped or weighted down to avoid any accidental movement or displacement during the mold removal process.
Setting up proper ventilation
It is crucial to have proper ventilation in the work area while removing mold from the painted ceiling. Open windows and doors to allow fresh air to circulate throughout the room. This will help dissipate any mold spores or cleaning solution fumes, reducing the risk of inhalation. Additionally, using fans or placing portable air purifiers strategically near the work area can further improve air circulation and minimize exposure to airborne contaminants.
Taking Safety Precautions
Wearing protective clothing
Once you have cleared the work area and set up proper ventilation, it’s time to put on your protective clothing. Slip into disposable coveralls, ensuring that they fit snugly around your body. This will prevent any mold spores or cleaning solutions from coming into direct contact with your skin. Remember to also don your disposable gloves, safety goggles, and a respirator mask. By wearing the appropriate protective clothing, you minimize the risk of exposure to mold and ensure a safer mold removal process.
Using safety goggles and gloves
Protecting your eyes and hands is of utmost importance during the mold removal process. Mold particles, cleaning solutions, or debris may accidentally come into contact with your eyes, causing irritation or injury. Safety goggles provide a barrier, shielding your eyes from potential harm. Additionally, wearing gloves is essential to prevent direct skin contact with mold or cleaning solutions. Opt for latex or nitrile gloves, as they offer good resistance to mold and ensure better protection.
Avoid inhaling mold spores
Mold spores released into the air during the removal process can be harmful if inhaled. To minimize the risk, wear a respirator mask that is specifically designed to filter out small particles, such as an N95 mask or higher. This will prevent mold spores from entering your respiratory system. Ensure that the mask forms a snug seal over your nose and mouth, and replace the filter regularly as recommended by the manufacturer. By taking these precautions, you safeguard your respiratory health and create a safer environment.

Removing Mold from the Painted Ceiling
Creating a mild cleaning solution
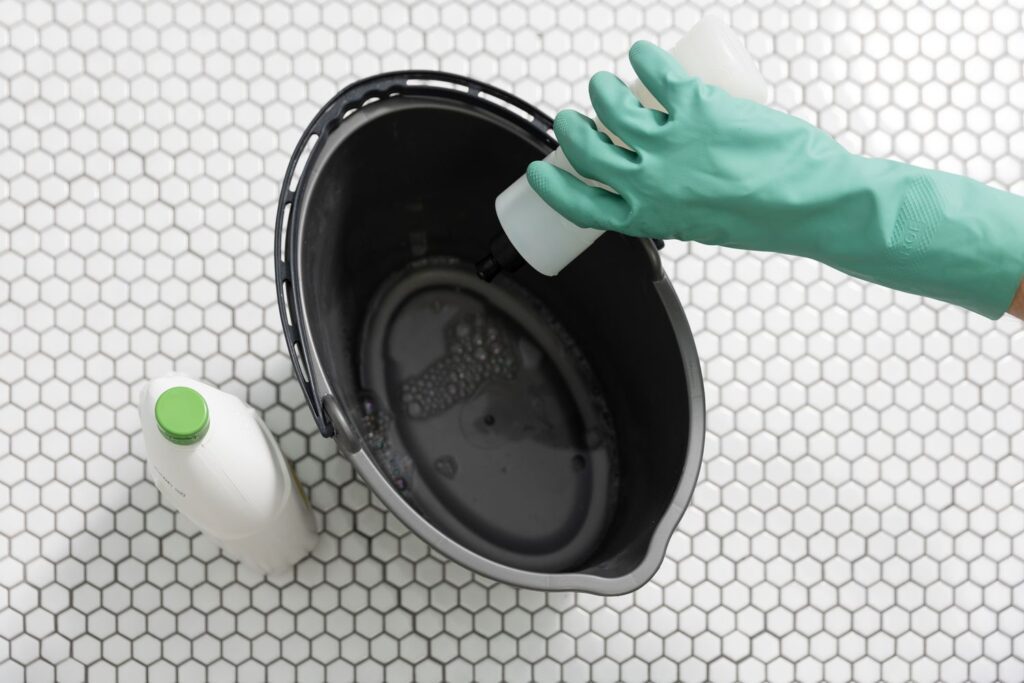
To begin removing mold from your painted ceiling, mix a mild cleaning solution. A simple mixture of warm water and dish soap or detergent can be effective in breaking down mold and removing stains. For every gallon of water, add one tablespoon of soap or detergent. Stir the solution thoroughly until the soap or detergent is fully dissolved. Alternatively, you can use a solution of equal parts white vinegar and water, or hydrogen peroxide diluted with water. These natural solutions have antimicrobial properties and can help kill mold.
Testing the solution on a small area
Before applying the cleaning solution to the entire mold-affected area, it is essential to test its effectiveness on a small, inconspicuous area of the painted ceiling. Apply a small amount of the solution using a soft brush or sponge and gently scrub the area. Monitor the reaction of the painted surface, ensuring that it does not become discolored or show any adverse effects. If the solution passes the test and does not damage the paint, you can proceed with confidence.
Scrubbing the affected area with a brush or sponge
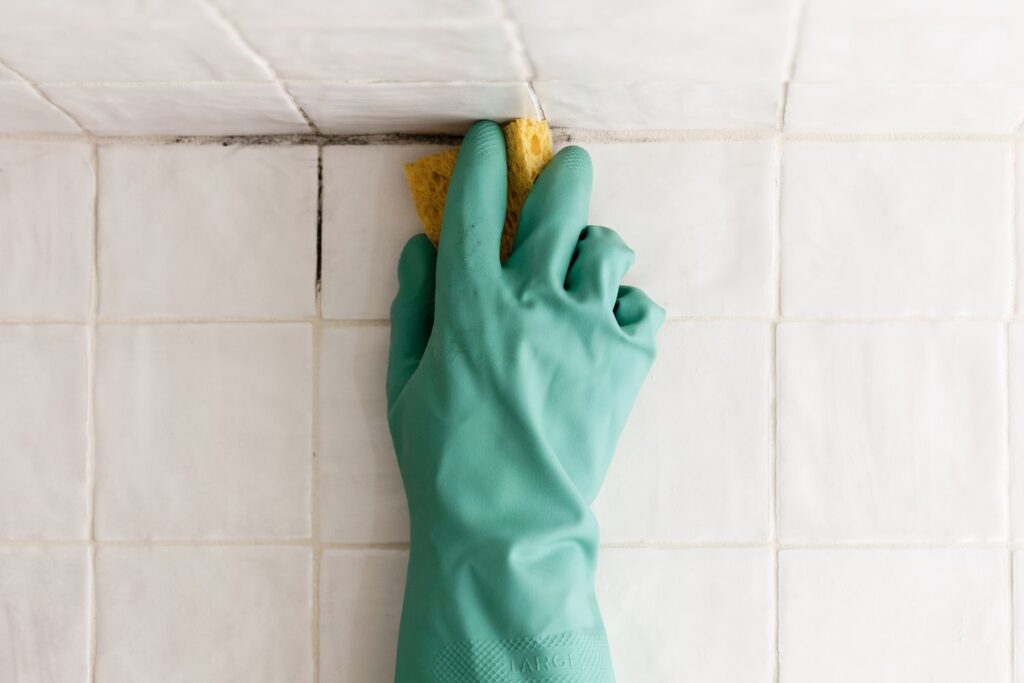
Once you have confirmed the effectiveness of the cleaning solution, it’s time to tackle the mold on the painted ceiling. Dip a soft brush or sponge into the solution and apply it to the moldy areas. Gently scrub the affected area in a circular motion, working from the outer edges toward the center. Be thorough but cautious, ensuring you don’t damage the painted surface. Apply additional solution as needed, and continue scrubbing until the mold is visibly removed. If the mold growth is particularly stubborn, a stiff brush may be required for more aggressive scrubbing.
Dealing with Stubborn Mold
Using a stronger cleaning solution
In some cases, mold may be more resistant and require a stronger cleaning solution. If the mild cleaning solution proves ineffective, you can try using a stronger option. One alternative is to mix one part bleach with three parts water. However, it is important to note that bleach should be used with caution, as it can potentially damage certain types of painted ceilings and release harmful fumes. Test the bleach solution on a small area of the painted ceiling to ensure compatibility before proceeding. If the painted surface is not adversely affected, apply the bleach solution to the stubborn mold, using caution and thoroughly rinsing the area afterward.
Applying a mold remover or killer
If the mold growth persists even after using a stronger cleaning solution, it may be necessary to use a specialized mold remover or killer. These products are specifically formulated to eradicate mold and prevent its regrowth. Follow the manufacturer’s instructions carefully, as different products may have varying application methods and safety precautions. Apply the mold remover or killer to the affected areas of the painted ceiling, ensuring even coverage. Allow the product to penetrate the mold and work its magic for the recommended duration before moving on to the next step.
Seeking professional help if necessary
In some cases, dealing with stubborn mold growth on a painted ceiling may be beyond your expertise or capabilities. If you have followed the necessary steps and the mold persists, it is advisable to seek professional assistance. Professional mold remediators have the knowledge, experience, and specialized equipment to effectively handle even the most challenging mold situations. They can assess the extent of the mold growth, provide appropriate solutions, and ensure that your painted ceiling is restored to a safe and mold-free condition.

Cleaning Up and Disposing of Contaminated Materials
Thoroughly cleaning the work area
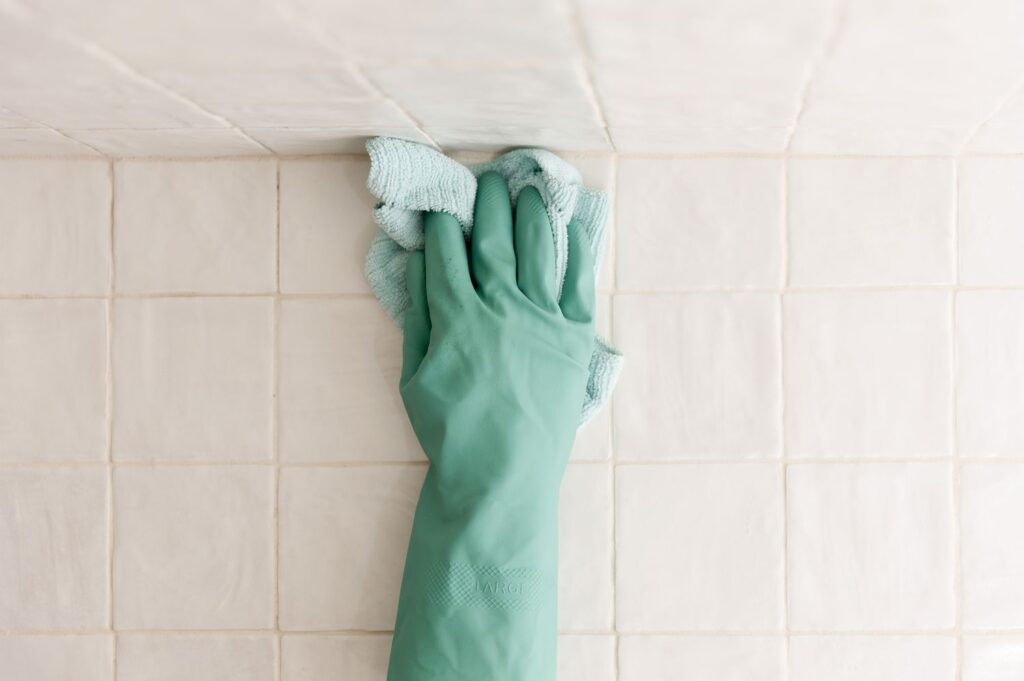
After successfully removing mold from your painted ceiling, it’s important to clean up the work area to ensure there are no remaining mold particles or cleaning solution residue. Start by wiping down any surfaces, walls, or furniture that may have come into contact with mold debris or cleaning solutions. Use a clean cloth or sponge dampened with water or a mild cleaning solution to remove any traces of mold. Pay special attention to areas where mold spores may have settled, such as windowsills or nearby surfaces.
Properly disposing of used cleaning materials
Dispose of any used cleaning materials, such as brushes, sponges, or rags, in a sealed plastic bag. This will prevent any mold spores or contaminants from spreading to other areas of your home. Seal the bag tightly and dispose of it in an outdoor trash bin. Do not reuse any cleaning materials that have been used on mold-infested surfaces, as this may lead to cross-contamination. By properly disposing of these materials, you minimize the risk of mold regrowth or spreading.
Ensuring the area is completely dry
Before moving on to preventive measures, ensure that the painted ceiling and surrounding area are completely dry. Moisture is a contributing factor to mold growth, so it is crucial to eliminate any remaining dampness. Use a clean, dry cloth or towel to absorb any excess moisture, paying attention to corners, edges, and areas that may be prone to retaining moisture. Consider using a dehumidifier or fans to expedite the drying process. Once the area is completely dry, you can proceed with preventive measures to minimize the chances of future mold growth.
Preventing Future Mold Growth
Fixing any water leaks
One of the primary causes of mold growth is excess moisture from water leaks or condensation. To prevent future mold issues, it is important to identify and fix any sources of water intrusion promptly. Inspect your ceiling, roof, plumbing fixtures, and HVAC system for leaks or signs of water damage. Address any issues immediately and ensure that all repairs are done professionally and thoroughly. By eliminating the source of moisture, you significantly reduce the likelihood of mold returning to your painted ceiling.
Reducing humidity levels
High humidity levels can create an environment conducive to mold growth. To prevent this, it is essential to maintain optimal humidity levels in your home. Use a dehumidifier in areas where moisture is a concern, such as bathrooms, kitchens, or basements. Aim for a relative humidity level below 50% to inhibit mold growth. Additionally, proper ventilation plays a crucial role in reducing humidity. Open windows, use exhaust fans, and ensure air circulates freely throughout your home. By controlling humidity levels, you create an inhospitable environment for mold and promote a healthier living space.
Regularly inspecting the ceiling for signs of mold
Routine inspections of your painted ceiling are essential to detect and address any potential mold issues early on. Regularly check for signs of mold growth, such as discoloration, dark spots, or a musty odor. Promptly address any signs of mold by following the necessary steps for removal outlined in this guide. Timely intervention can prevent mold from spreading and causing extensive damage. By being vigilant and proactive, you can maintain a fresh and mold-free space.

Repainting the Ceiling
Sanding or scraping off loose paint
After successfully removing mold from your painted ceiling, it may be necessary to address any loose or damaged paint. Use a fine-grit sandpaper or a paint scraper to carefully remove any flaking or peeling paint. Gently sand the affected areas until they are smooth and free from any loose debris. Be cautious and avoid damaging the underlying surface or exposing raw materials. After sanding, wipe down the area with a clean, damp cloth to remove any residual dust or paint particles.
Applying a mold-resistant primer
Before repainting the ceiling, it is advisable to apply a mold-resistant primer to further protect against future mold growth. Mold-resistant primers contain antimicrobial properties that inhibit mold growth and help create a protective barrier. Follow the manufacturer’s instructions regarding application method, drying time, and any safety precautions. Apply the primer evenly to the entire affected area, ensuring complete coverage. Allow the primer to dry thoroughly before proceeding to the next step.
Painting over the affected area
Once the mold-resistant primer is dry, you can proceed with repainting the affected area of the ceiling. Choose a high-quality paint that is specifically formulated for use in humid environments or areas prone to mold growth. Select a color that closely matches the existing ceiling color for a seamless finish. Use a paintbrush or roller to apply the paint evenly, working from the edges toward the center. Apply multiple thin coats if necessary, allowing sufficient drying time between each coat. Once the paint is dry, inspect the area to ensure a smooth and uniform finish.
Maintaining a Fresh and Mold-Free Space
Regularly cleaning and maintaining the painted ceiling
To maintain a fresh and mold-free space, it is important to incorporate regular cleaning and maintenance of your painted ceiling into your routine. Dust and debris can accumulate on the surface over time, providing an ideal breeding ground for mold. Use a soft brush or microfiber cloth to remove any dust or cobwebs from the ceiling on a regular basis. If you notice any signs of mold regrowth or staining, address it promptly using the steps outlined in this guide. By being proactive in your maintenance efforts, you can prevent mold from taking hold again.
Improving ventilation and air circulation
Proper ventilation and air circulation play a vital role in preventing mold growth. Ensure that your space is well-ventilated by opening windows, using exhaust fans, or installing a ventilation system if necessary. Stagnant air can contribute to excess moisture and create conditions ideal for mold growth. Similarly, good air circulation helps minimize moisture buildup and prevents the formation of condensation. Consider using ceiling fans, portable fans, or air purifiers to enhance air movement and maintain a fresh and healthy environment.
Monitoring humidity levels
As mentioned earlier, controlling humidity levels is key to preventing mold growth. Invest in a hygrometer or humidity monitor to keep track of the humidity levels in your home. Ideally, aim for a relative humidity level below 50%. If you notice consistently high humidity, take steps to address it by using a dehumidifier or improving ventilation as mentioned earlier. Regularly check your hygrometer readings to ensure that humidity levels remain within the recommended range. By monitoring and controlling humidity levels, you minimize the risk of mold growth and maintain a fresh and mold-free space.
In conclusion, removing mold from a painted ceiling requires careful assessment, necessary safety precautions, and effective cleaning methods. By following the step-by-step guide outlined above, you can successfully remove mold, prevent its regrowth, and maintain a fresh and mold-free space. Remember to prioritize your safety, choose appropriate protective gear, and carefully select the right cleaning solutions and tools. Regular maintenance, proper ventilation, and monitoring of humidity levels are key to preventing future mold issues. With diligence and attention to detail, you can enjoy a clean and healthy living space free from the harmful effects of mold.
