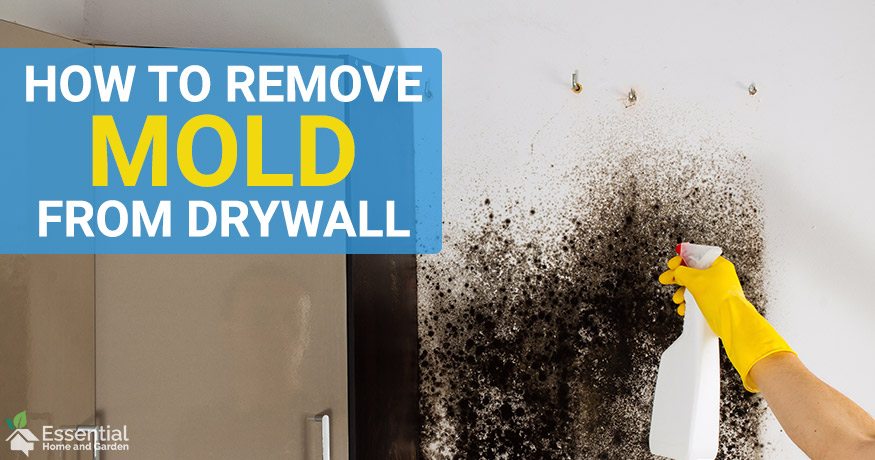
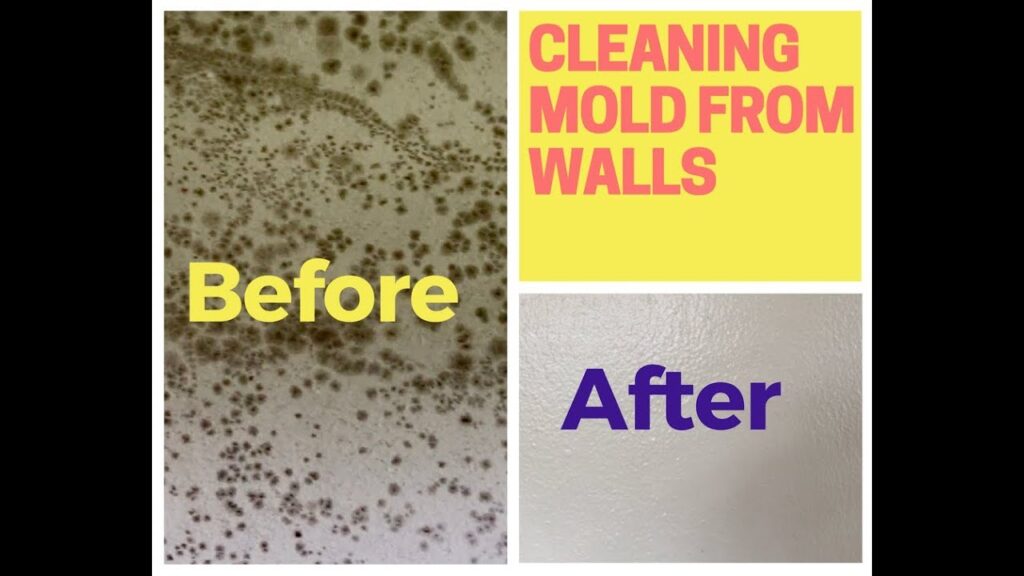
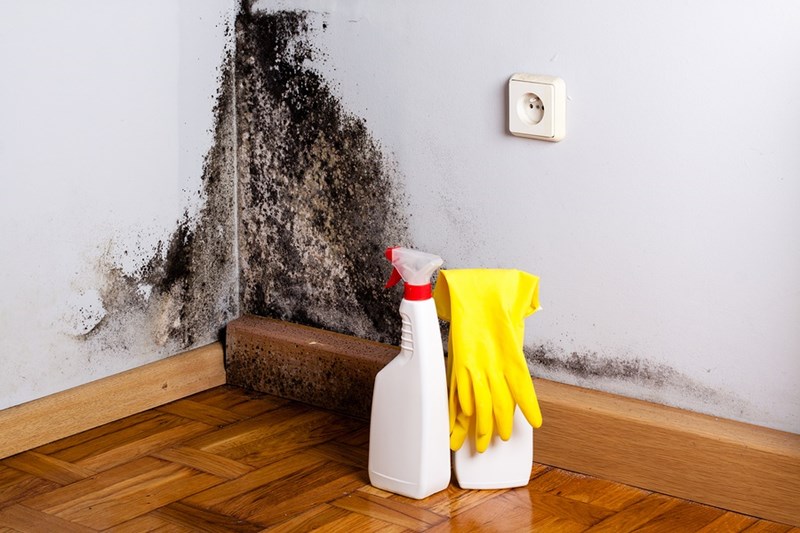
Picture this: you walk into your home after a relaxing vacation, only to be hit with a musty odor and unsightly black spots on your drywall. Don’t panic – you can effectively banish mold from your drywall for good. In this informative article, we will show you simple yet effective methods to permanently remove mold from drywall, ensuring a clean and healthy living space. Say goodbye to mold and hello to peace of mind!

Identify and Address the Source of Moisture
Identify the source of moisture
The first step in dealing with mold on drywall is to identify and address the source of moisture. Mold thrives in damp and humid environments, so it’s crucial to determine where the moisture is coming from. Common sources of moisture include leaks from plumbing fixtures, roof leaks, high humidity levels, or poor ventilation. Carefully inspect the area for any visible signs of water damage, such as wet spots, discoloration, or mold growth. Identifying and fixing the source of moisture is essential to prevent mold from recurring.
Address the moisture issue
Once you have identified the source of moisture, it’s important to address the issue promptly. Depending on the cause, there are different ways to tackle the moisture problem. If it’s a plumbing leak, it’s best to call a professional plumber to fix the issue. For roof leaks, contacting a roofing expert is recommended. In cases where high humidity is the main problem, you can use dehumidifiers or improve ventilation by opening windows or installing exhaust fans. By addressing the moisture issue, you reduce the chances of mold reappearing in the future.
Assess the Extent of Mold Infestation
Examine the affected area
After addressing the source of moisture, it’s time to assess the extent of mold infestation on the drywall. Carefully inspect the affected area and look for visible signs of mold growth. Be thorough in your examination, checking all corners, crevices, and hidden areas. Mold can sometimes be hidden behind furniture, wallpapers, or baseboards. Look for black or green patches, a musty odor, or any other indications of mold presence.
Determine the severity of the mold growth
Once you have identified the mold growth, it’s important to determine the severity of the infestation. This will help you decide on the appropriate course of action to take. Minor mold growth can often be tackled with DIY methods, while more extensive mold problems may require professional intervention. If the affected area is small, isolated, and the mold growth is not extensive, you may be able to remove it yourself. However, if the mold covers a large area or has caused severe damage, it is advisable to seek professional assistance to ensure safe and effective mold remediation.

Take Necessary Precautions
Wear protective gear
Before starting the mold removal process, it’s crucial to protect yourself by wearing the appropriate protective gear. Mold can release spores into the air, which can be harmful if inhaled or come into contact with the skin. To minimize the risk of exposure, wear gloves, goggles, and a respirator or mask specifically designed for mold removal. The protective gear will create a barrier between you and the mold, ensuring your safety throughout the process.
Ventilate the area
When dealing with mold on drywall, it’s important to have proper ventilation in the area where the remediation is taking place. Open windows and use fans or dehumidifiers to improve airflow and help dry out the affected area. Adequate ventilation will prevent the mold spores from spreading to other parts of the house and promote faster drying of the surfaces. If possible, seal off the room from the rest of the house to contain the mold and prevent its spread.
Contain the mold
To further prevent the spread of mold spores, it’s essential to contain the affected area during the remediation process. Use plastic sheeting or tarps to seal off doorways, vents, and any other openings that could allow the mold spores to escape to other areas of the house. By containing the mold, you minimize the risk of cross-contamination and protect the rest of the house from potential mold growth.
Prepare the Work Area
Remove furniture and belongings
Before you start removing the mold from the drywall, it’s important to clear the work area by removing any furniture, belongings, or items that could be contaminated with mold spores. This will prevent the spread of mold and make the remediation process more manageable. If possible, relocate the items to a different room or seal them in plastic bags to ensure they do not get contaminated during the process.
Cover nearby surfaces
To further protect surfaces adjacent to the mold-infested area, cover them with plastic sheets or tarps. This will prevent any mold spores or cleaning solutions from coming into contact with the surfaces and potentially causing damage. Take care to tape the edges of the coverings securely to ensure a tight seal and minimize the risk of accidental contamination.

Removing Mold from Drywall
Dry brushing or scraping off surface mold
For minor mold growth on drywall, it’s possible to remove the mold by using dry brushing or scraping techniques. Before starting, ensure you are wearing the appropriate protective gear. Use a stiff-bristled brush or scraper to gently remove the surface mold from the drywall, making sure not to damage the underlying material. Collect the loose mold debris in a plastic bag and dispose of it properly.
Vacuuming the area
After dry brushing or scraping off the surface mold, it’s important to thoroughly vacuum the area to remove any remaining mold spores. Use a vacuum cleaner with a HEPA filter to prevent the spores from being released back into the air. Vacuum the affected area and the surrounding surfaces, paying close attention to corners, crevices, and any other hard-to-reach areas where mold might be present.
Wiping with a damp cloth or sponge
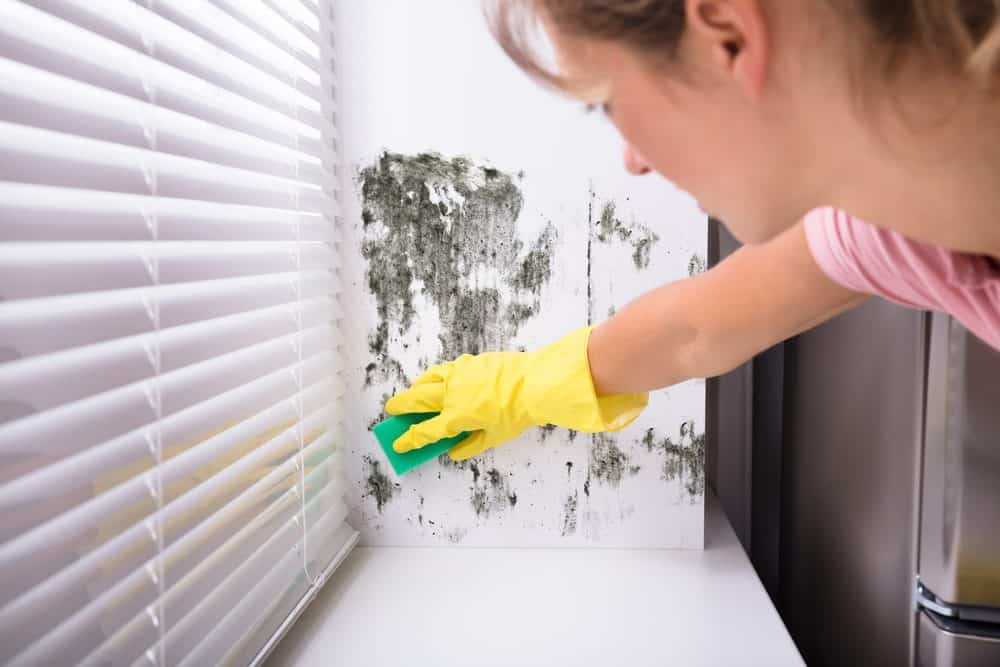
After vacuuming, dampen a cloth or sponge with a mild detergent and water solution. Gently wipe the affected area to remove any remaining mold residue and to ensure a thorough cleaning. Avoid saturating the drywall, as excessive moisture can further promote mold growth. Rinse the cloth or sponge regularly and replace the cleaning solution as needed to maintain effectiveness.
Applying a mold-inhibiting solution
Once the affected area is clean and dry, it’s advisable to apply a mold-inhibiting solution to the drywall. There are commercially available mold-inhibiting products that can be sprayed or painted onto the surface. These solutions help prevent future mold growth by creating a barrier that inhibits the growth of mold spores. Follow the manufacturer’s instructions carefully when applying the product, and ensure proper ventilation during and after the application.
Disposing of Moldy Materials
Sealing moldy materials in plastic bags
When removing mold-infested materials from the drywall, it’s important to handle them with caution and minimize the risk of contamination. Seal the moldy materials, such as wallpapers or sections of drywall, in sturdy plastic bags. Double-bagging is recommended to provide an extra layer of protection. Make sure the bags are securely sealed to prevent any mold spores from escaping.
Properly disposing of the bags
After sealing the moldy materials in plastic bags, it’s important to dispose of them properly. Contact your local waste management or health department to inquire about the specific guidelines for disposing of mold-infested materials in your area. Follow their instructions for safe and responsible disposal to prevent the spread of mold spores and potential environmental contamination.

Treating and Repairing the Drywall
Cutting out and replacing severely affected sections
In cases of severe mold infestation or irreparable damage to the drywall, it may be necessary to cut out and replace the affected sections. This is particularly true if the mold has penetrated the interior layers of the drywall or if there is extensive structural damage. Use a utility knife to carefully cut out the damaged sections, making sure to take proper safety precautions. Once removed, replace the sections with new drywall and proceed with the mold remediation steps.
Treating minor mold stains
If the mold growth has left minor stains on the drywall, there are several options for treatment. One common approach is to use a mixture of bleach and water. Dilute one part bleach with four parts water and apply it to the affected area using a sponge or sprayer. Let the solution sit for a few minutes, then wipe it off with a clean cloth or sponge. Alternatively, there are also commercial mold stain removers available that can be effective in treating minor stains.
Repainting or reapplying wall covering
Once the mold has been removed and the affected area treated, it’s important to restore the drywall’s appearance. Repainting the surface with mold-resistant paint can provide an added layer of protection against future mold growth. If you had to remove wallpaper or other wall coverings, consider reapplying them with mold-resistant options. These preventive measures will help minimize the risk of mold reappearing on the drywall.
Preventing Future Mold Growth
Fixing the source of moisture
To prevent future mold growth on drywall, it’s essential to address and fix the source of moisture. Whether it’s a leaky pipe, improper ventilation, or high humidity levels, identifying and resolving the underlying issue is crucial. Fix any plumbing leaks, improve ventilation in damp areas, and use dehumidifiers to maintain optimal humidity levels. By eliminating the source of moisture, you create an unfavorable environment for mold growth.
Improving ventilation
Proper ventilation is crucial in preventing mold growth. Ensure good airflow throughout your home by opening windows regularly, using exhaust fans in moisture-prone areas like bathrooms and kitchens, and installing ventilation systems if necessary. Adequate ventilation helps keep surfaces dry and reduces the chances of mold spores settling and multiplying on the drywall.
Reducing humidity levels
Mold thrives in high humidity environments, so it’s important to keep the humidity levels in check. Use dehumidifiers in areas with excessive moisture, ensure proper insulation to prevent condensation, and consider using moisture-absorbing materials like silica gel or desiccants in closets or storage spaces. Regularly monitor and maintain humidity levels below 60% to discourage mold growth.
Using mold-resistant drywall
If you live in an area prone to high humidity or have experienced recurrent mold issues, consider using mold-resistant drywall in your home. Mold-resistant drywall is specially designed to inhibit mold growth and is treated with additives that discourage the growth of mold spores. While it’s not foolproof, using mold-resistant drywall can provide an extra layer of protection and minimize the risk of mold reoccurrence.

Seeking Professional Help
When to call a professional
While many minor mold issues on drywall can be handled with DIY methods, there are instances where it’s best to seek professional help. You should consider calling a professional mold remediation service if the mold growth covers a large area, if the mold has caused structural damage, if the infestation is recurrent, or if you are unsure about the proper remediation procedures. Professionals have the expertise and specialized equipment to safely and effectively remove mold, ensuring a thorough and lasting solution.
Choosing a professional mold remediation service
When selecting a professional mold remediation service, it’s important to choose a reputable and certified company. Look for companies with a proven track record in mold remediation and check for certifications such as the Institute of Inspection, Cleaning, and Restoration Certification (IICRC). It’s also advisable to get multiple quotes and ask for references before making a decision. A reputable mold remediation service will have the necessary knowledge, experience, and tools to handle the mold infestation professionally and effectively.
Regular Maintenance and Inspections
Performing regular inspections
To prevent mold growth on drywall and ensure a healthy living environment, regular inspections are crucial. Perform visual inspections periodically, especially in areas prone to moisture, such as bathrooms, basements, or areas affected by previous leaks. Look for any signs of mold growth, water stains, or dampness. Early detection allows for prompt action and prevents mold from spreading and causing further damage.
Addressing any signs of mold growth immediately
If during your regular inspections you notice any signs of mold growth on drywall, it’s important to address the issue immediately. Prompt action can prevent further damage, mitigate health risks, and ensure a successful mold remediation process. Follow the steps outlined earlier in this article to identify the source of moisture, assess the extent of the infestation, and take the necessary precautions. By acting promptly, you can handle the mold problem effectively and minimize any potential long-term consequences.
In conclusion, removing mold from drywall permanently requires a systematic approach that includes identifying and addressing the source of moisture, assessing the extent of the mold infestation, taking necessary precautions, preparing the work area, implementing effective mold removal techniques, properly disposing of moldy materials, treating and repairing the drywall, preventing future mold growth, and seeking professional help when necessary. By following these steps and maintaining regular maintenance and inspections, you can create a mold-free environment and ensure the health and safety of your home. Remember, mold remediation is a crucial task that should be approached diligently and with the necessary precautions to achieve long-lasting results.